Minecraft, the global gaming phenomenon, is more than just a pixelated sandbox. It’s a platform for creativity, collaboration, and community. However, as server administrators, ensuring a safe and respectful gaming environment is paramount. This often raises the question: How do you whitelist a Minecraft server? Fortunately, the process is quite straightforward, and in this article, we will provide a step-by-step guide. Additionally, for those looking to explore server options, we have curated a list of some of the best Minecraft Bedrock servers and Minecraft Java servers to get you started.
Understanding Minecraft Whitelisting
Whitelisting is a security measure implemented on Minecraft servers. When enabled, only players whose usernames are included in the whitelist can join the server. This provides an added layer of protection, ensuring that unknown or unwanted players can’t access your server without your permission.
Steps to Whitelist Your Minecraft Server
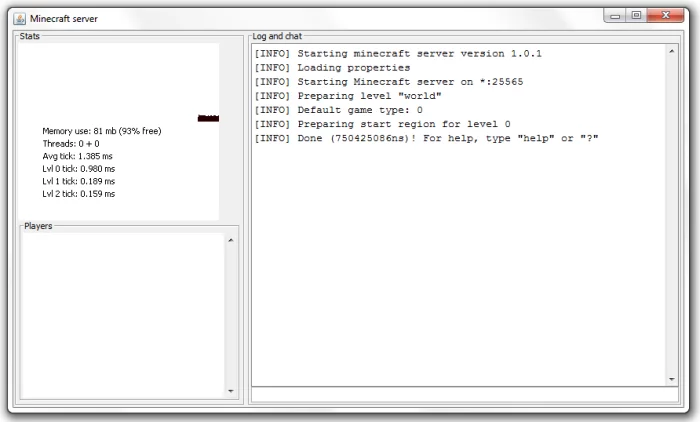
- Activate the Whitelist Option: First, ensure your Minecraft server is running. Then, connect to your server console. Input the command:
whitelist on. This command activates the whitelist feature. - Adding Players: After enabling the whitelist, it’s time to add the usernames of players you want to grant access. Use the command:
whitelist add <username>. Replace<username>with the actual Minecraft username of the player you wish to add. For instance, if the player’s name is “SteveBuilder”, you would enter:whitelist add SteveBuilder. - Removing Players: If, for any reason, you wish to remove someone from the whitelist, simply use the command:
whitelist remove <username>. - Viewing the Whitelist: To see a list of all the players you’ve whitelisted, type in:
whitelist list. - Reload the Whitelist: After making changes, especially if you’re editing the whitelist file directly (more on this later), it’s essential to reload the whitelist to ensure your changes take effect. Use the command:
whitelist reload. - Directly Editing the Whitelist File: For those who prefer to manage their whitelist directly from the server files, navigate to your Minecraft server directory. There, you should find a file named “whitelist.json”. Open this file with any text editor, and you can manually add or remove player data. Ensure you save any changes made. It’s important to follow the format strictly to avoid errors. Always remember to reload the whitelist after making direct edits.
Advantages of Whitelisting
- Controlled Access: Whitelisting grants you the ability to curate your Minecraft community, ensuring only trusted players can join.
- Reduced Griefing: Unauthorized or rogue players can disrupt the gaming experience. Whitelisting minimizes this risk.
- Enhanced Community Building: By controlling who joins, you can foster a more close-knit community, enhancing collaboration and mutual respect.
Closing Thoughts
Ensuring the safety and integrity of your Minecraft server is crucial. Whitelisting provides an efficient and effective way to maintain control over server access. Whether you’re running one of the popular Minecraft Bedrock servers or diving deep into the world of Minecraft Java servers, understanding and implementing whitelisting is essential for server security. Happy building and play safely!