Minecraft’s charm isn’t just its pixelated landscapes or the monsters lurking at night—it’s the community. It offers the opportunity to craft, explore, and play with friends. If you’re looking to create your own private world or a bustling online community, setting up a Java Minecraft server is your answer. This guide will take you step-by-step on how to embark on this adventure. Plus, for those looking for server inspiration or a peek into the wider Minecraft community, explore our recommended Minecraft Java servers and Minecraft Bedrock servers.
Step-by-Step: Setting Up Your Java Minecraft Server
- System Requirements: Before you start, ensure your system meets the recommended requirements. Minecraft servers, especially when hosting multiple players, demand ample RAM and a stable internet connection.
- Download the Server Software: Visit the official Minecraft website and navigate to the download section. Download the Minecraft Server .jar file for the latest or desired version.
- Prepare the Server Folder: Create a new folder on your computer where you wish to house the server files. Place the downloaded .jar file into this folder.
- Run the Server: Double-click the .jar file to run it. This will generate several files and folders in your server directory. The first run will close immediately, indicating you need to agree to the EULA (End User License Agreement).
- Agree to the EULA: In the server directory, open the ‘eula.txt’ file with a text editor and change
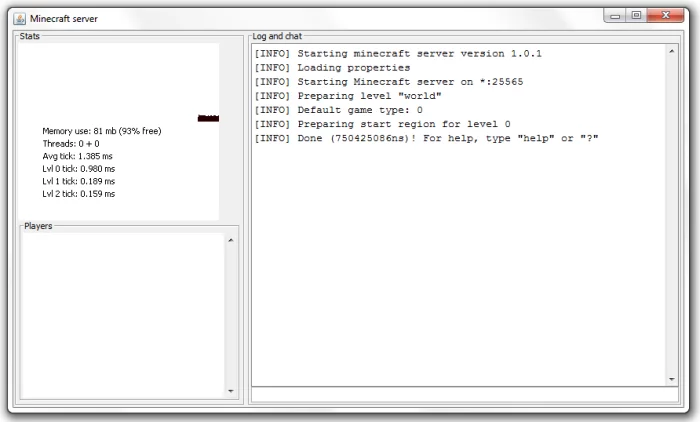
eula=falsetoeula=true. Save and close the file. - Start the Server Again: Run the .jar file once more. Your server will now start, creating a world and generating necessary files. Once done, you’ll see a message indicating the server is running.
- Configuration: Open the ‘server.properties’ file in a text editor to configure your server. Here, you can set game rules, adjust spawn protection, change the server’s name, and much more.
- Port Forwarding: To allow external players to join, you need to set up port forwarding on your router. Forward the port 25565 (by default) to the internal IP address of the server device.
- Accessing Your Server: Players can connect using your external IP address. However, if you’re accessing it from the same machine, simply use ‘localhost’ as the server address.
- Keeping Your Server Updated: Ensure you routinely check for Minecraft server updates to benefit from new features, fixes, and improved performance.
Important Tips for a Smooth Experience
- Allocate More RAM: If you notice lag or performance issues, consider allocating more RAM to your server using a .bat or .sh file.
- Regular Backups: Regularly back up your server to safeguard against potential data loss.
- Server Commands: Familiarize yourself with server commands to manage players, alter game rules, and more.
Wrapping It Up
Establishing your Java Minecraft server opens the door to endless possibilities, from constructing vast cities with friends to hosting large-scale community events. With the basics in hand, you can delve deeper into advanced features, plugins, and custom mods. As you embark on this journey, take inspiration from existing Minecraft Java servers and even peek into the world of Minecraft Bedrock servers. Here’s to countless hours of blocky adventures!